With the chainplates replaced and re-bedded, rebuilding the interior took an excruciatingly long time. Despite several layers of elaborate plastic walls I’d put up, there was still fiberglass dust on every surface in the boat. This took a lot of cleaning to remove, but the time consuming part was rebuilding the boat’s interior. We replaced each strip of planking and each section of cabinetry one piece at a time. Fortunately, we had labeled every piece carefully when tearing it out. The new epoxy tabbing was about 1/8 – 1/4″ thicker than the original tabbing. In addition, we extended the length of the two primary knees by about 5 1/2″ inches to better carry the significant rig loads. These changes meant that every single piece of wood interior needed to be customized before it could be reinstalled. Every…single…piece. Sometime in early September we installed the last section of trim and I had tears in my eyes, thankful to have another seemingly impossible task finished and hopeful that, someday, we might have a livable sailboat again.
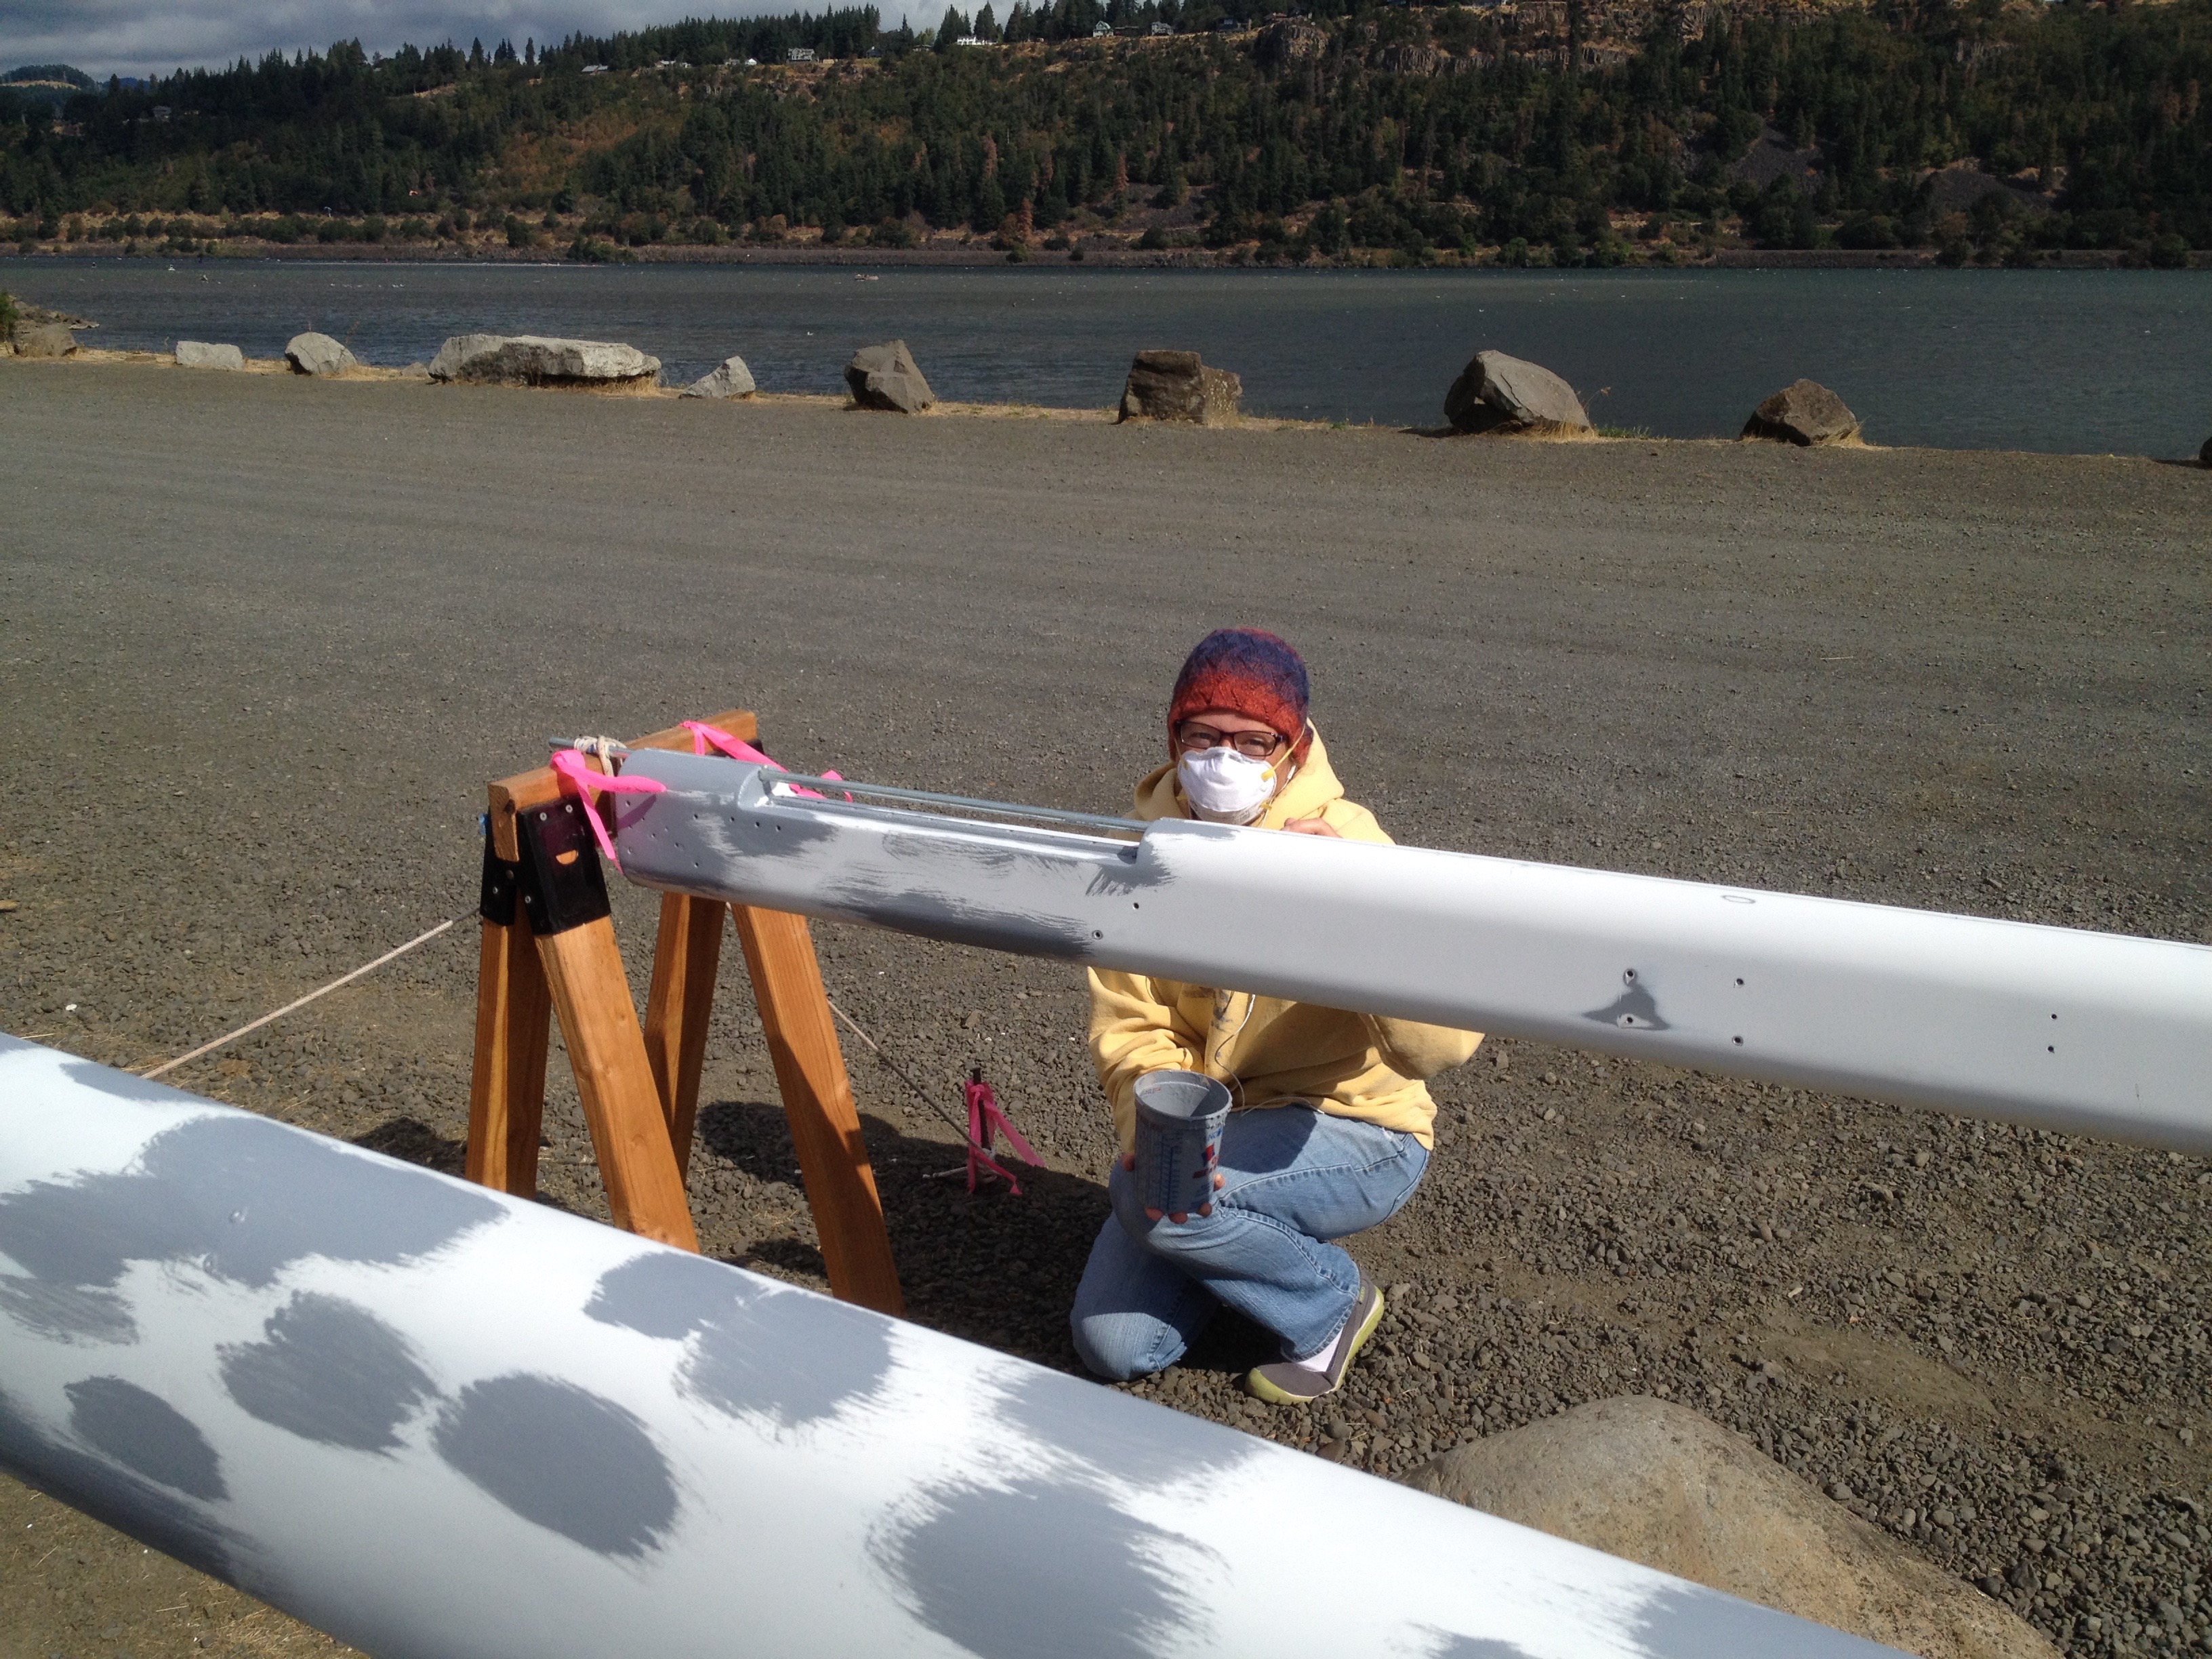
Next up, dealing with the spars. My original intention was to quickly ‘touch up’ the spots on the mast, boom and spreaders where old paint was peeling. But upon closer inspection, the paint on the spars was thin, worn and chalky; not a candidate for touching up unless we were prepared to pull the mast and repaint in another year or two. So we dove in and removed all hardware and wiring from the mast, boom and spreaders while researching various paint systems and application methods. Knowing that we would be applying the paint ourselves, outdoors, in the wind, sun and dust of the Hood River marina spit helped to narrow our choices. We decided to use Interlux 2-part LPU because the support documentation was very good, and the product was well suited for ‘consumer’ application by rolling and tipping, rather than spraying in a paint booth. After sanding and carefully preparing the surfaces, we applied a tie coat to bond to the raw aluminum, then 2 full coats of primer, sanding in between each coat, then finally 2 careful coats of 2-part paint. We painted early in the mornings to avoid the worst effects of sun, wind and dust, but still we glared several times as folks speed past us at 30 mph on the dusty gravel spit, or as the wind piped up to 25 kts. Applying 2-part LPU with a roller and tipping brush is a bit like trying to paint your car with a smooth, hard, shiny coating using a 3inch wide paint brush. Even with quite a bit of previous experience, great surface prep and special care taken, the end result was not perfect, but it looks pretty darned good from 5 feet away.
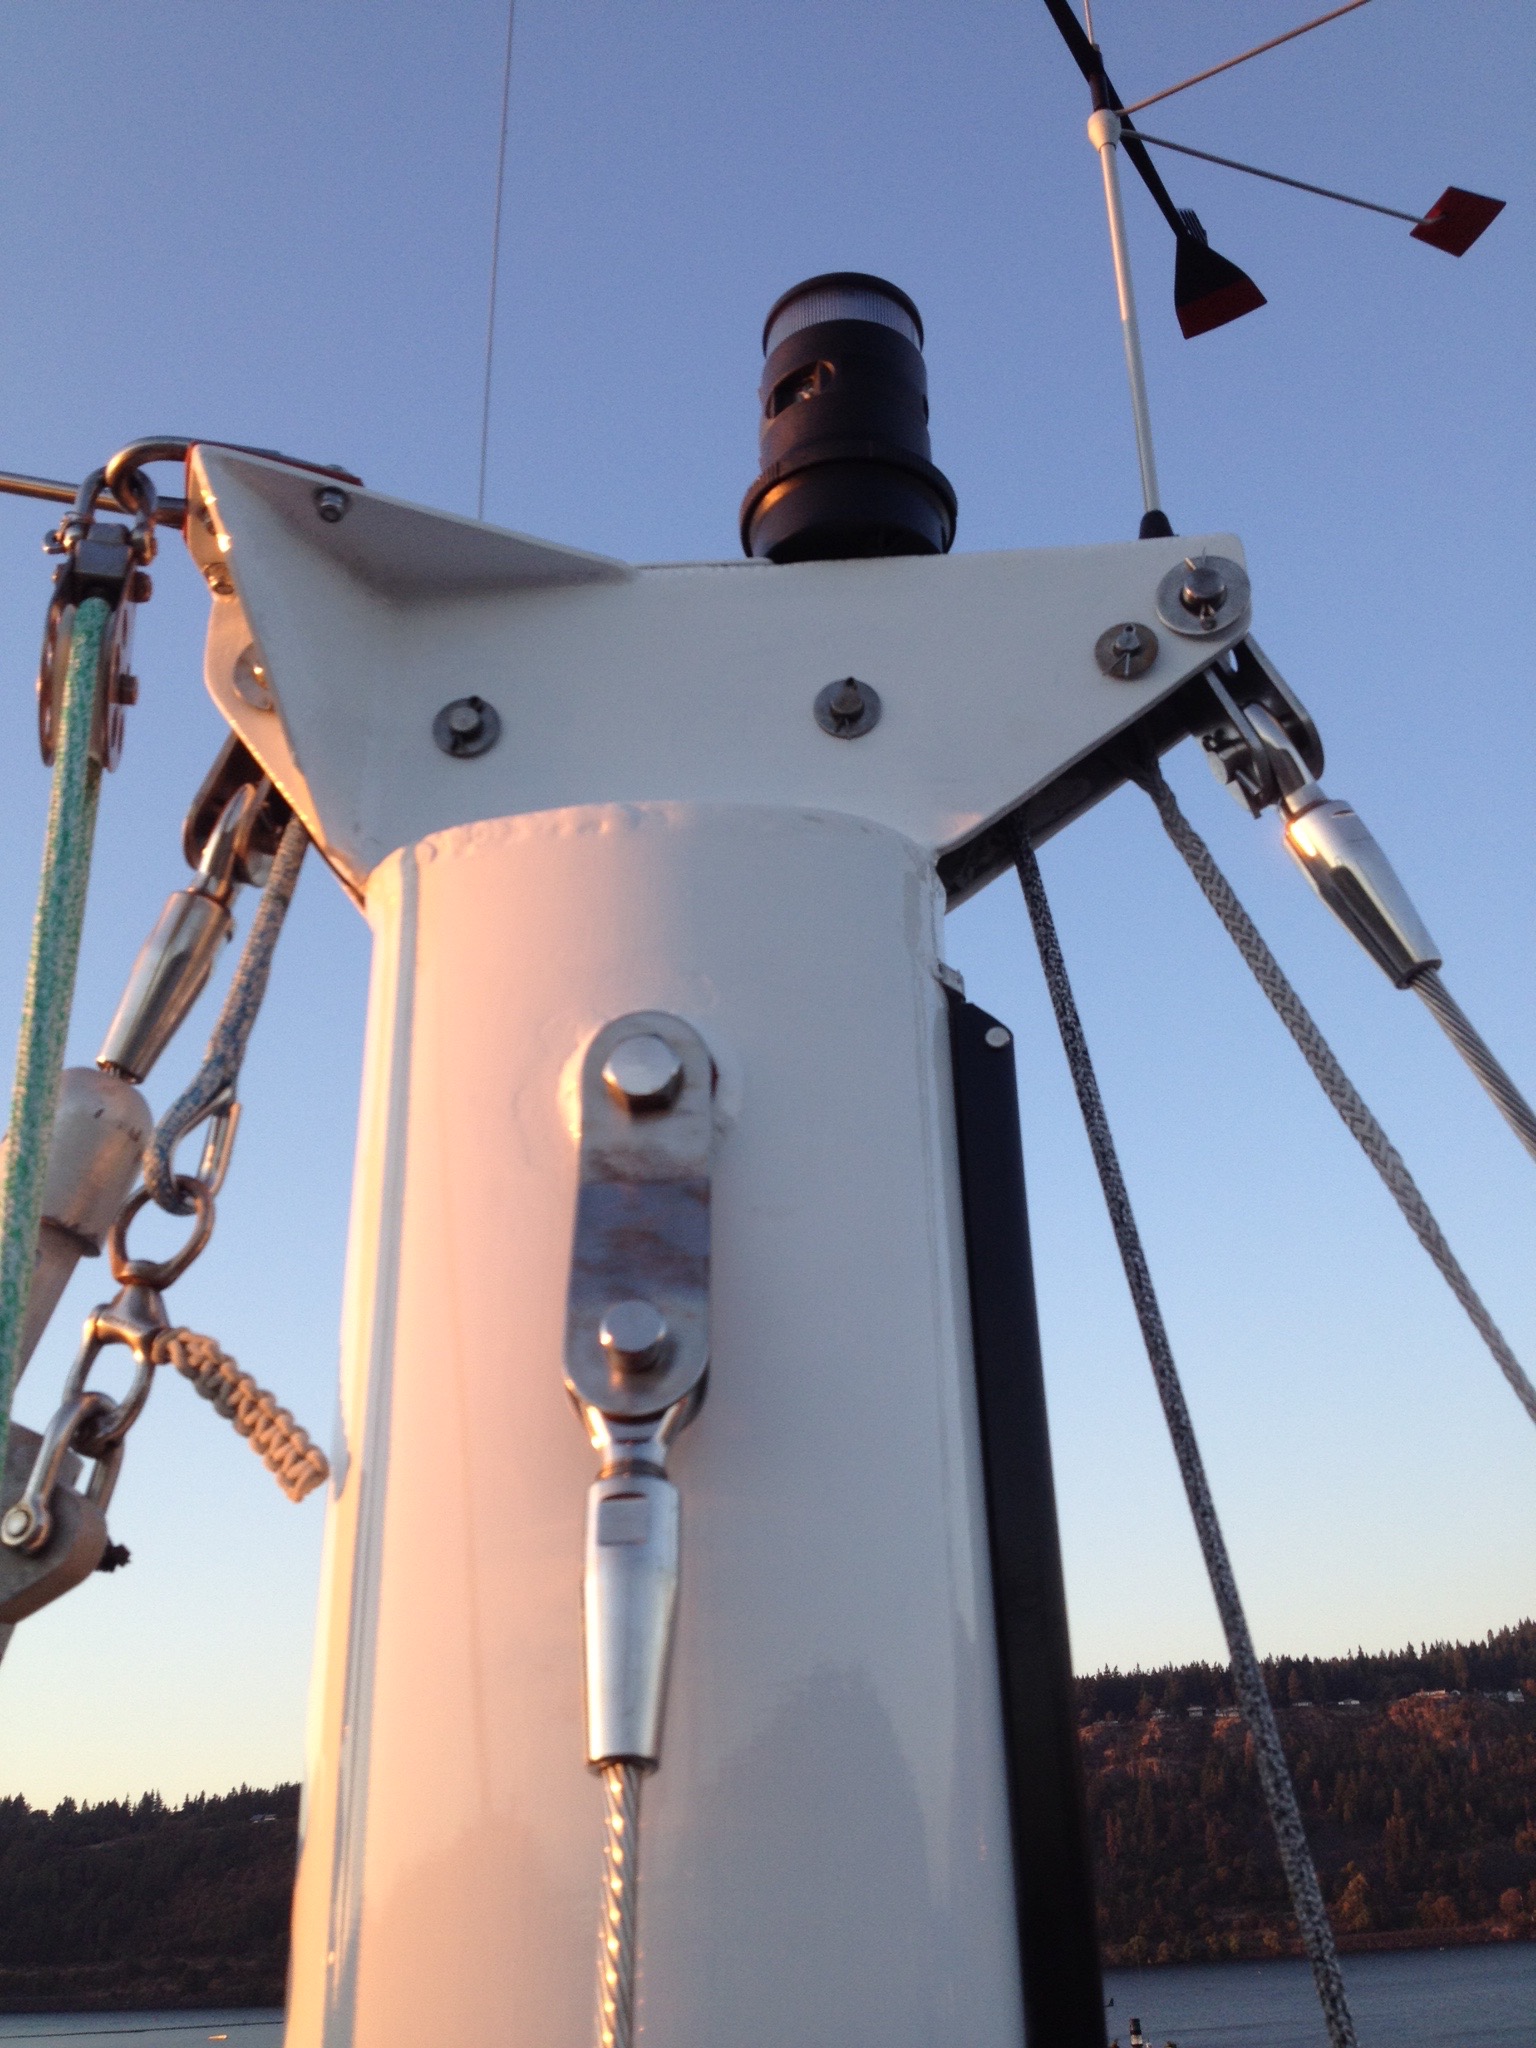 We also measured and ordered new stainless wire rope and hardware for the rigging. Our rig was last rebuilt 20 years ago using Norseman brand mechanical terminals. These fittings allow a handy person to service their own rigging at sea if necessary without any special equipment. In theory, all we needed to do to make new rigging was to replace the stainless wire and small Norseman cones that are key to the mechanical fittings. After scouring the internet it became clear that the Norseman cones could no longer be found since the company was out of business. It’s probably best I didn’t have time to dwell on the fact that the pricetag for re-rigging jumped up by almost $1000 because we had to change over to all new Hayn Hi-Mod terminals and turn buckles These fittings are really well made and, in the end, they helped our overall confidence in the integrity of the rig, but at the time it seemed like a serious defeat.
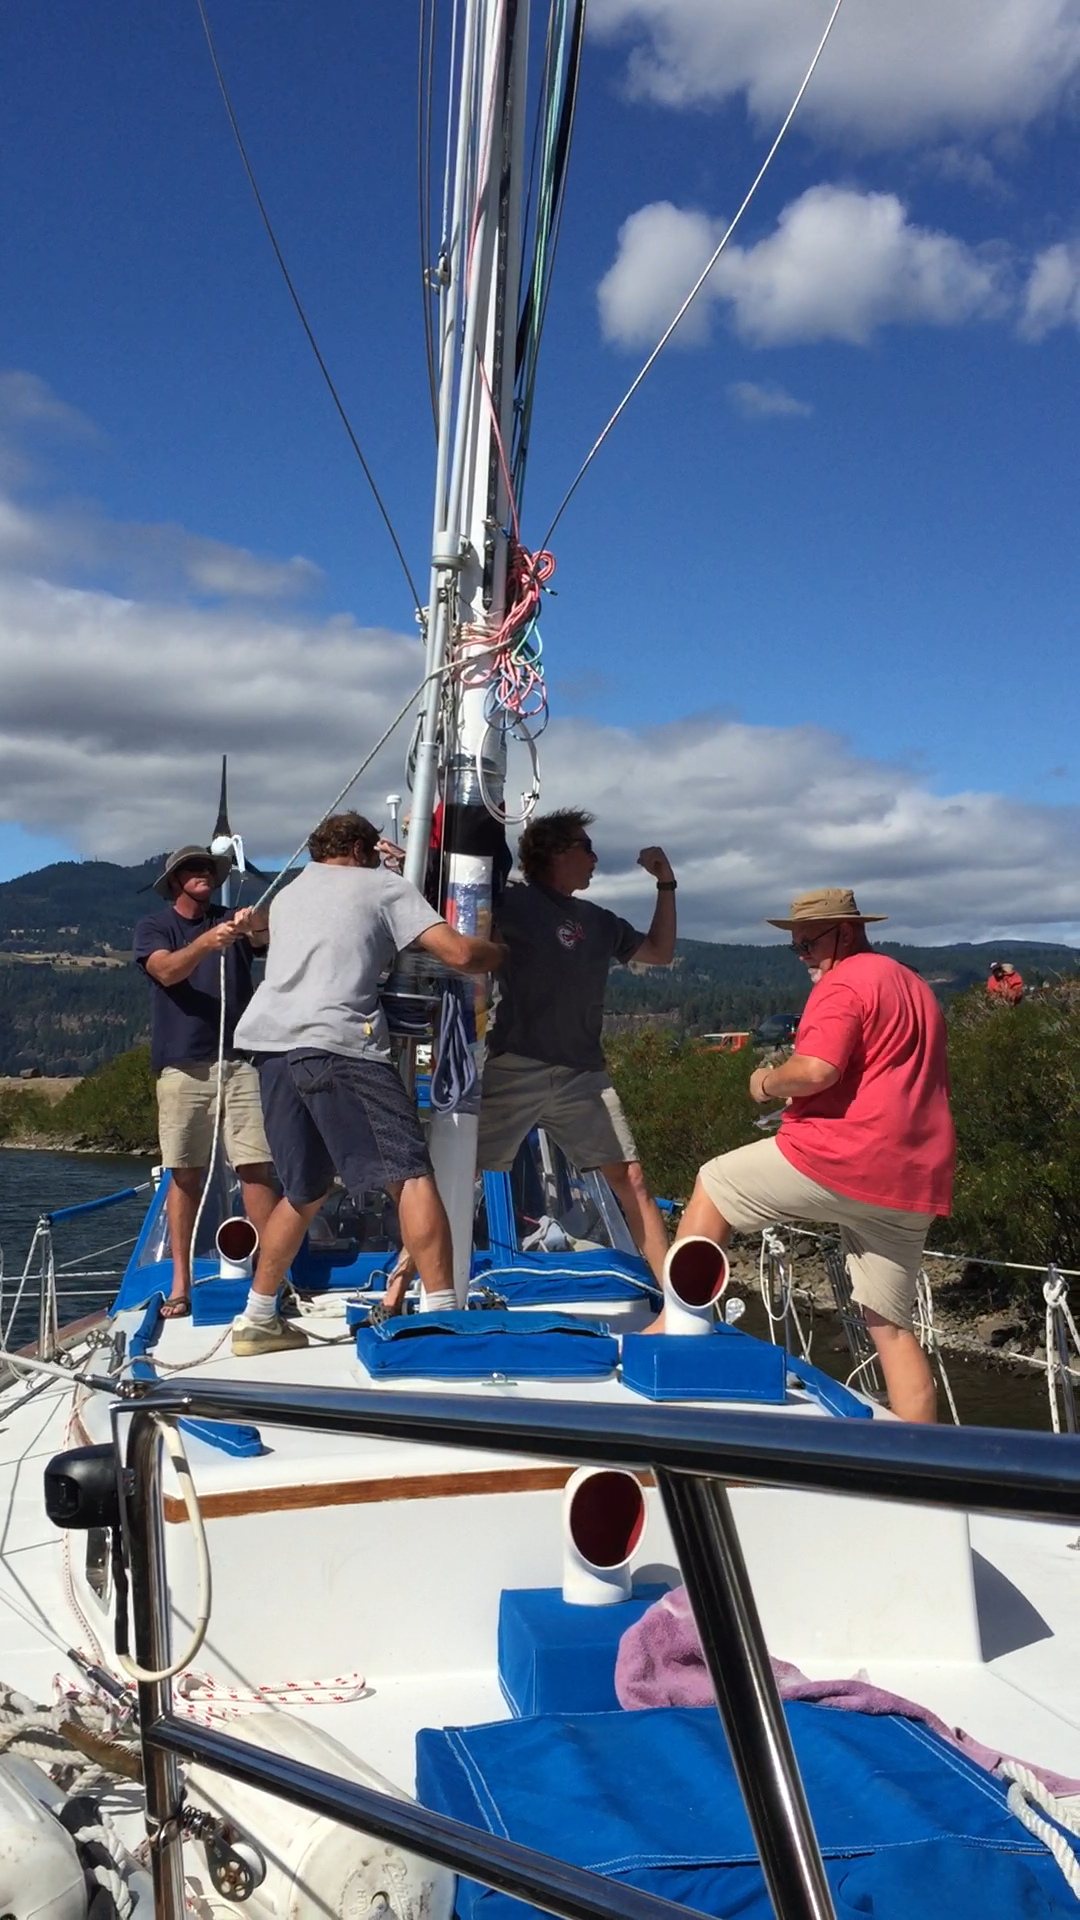
By the end of September, we were cutting wire rope and making up new rigging; my head abuzz from the stress of long days and the unrelenting parade of seemingly impossible tasks and complex planning. Carefully re-tapping hundreds of holes in the spars and re-bedding every piece of hardware took forever, but had to be done before we could raise the mast and make Batu a sailboat again, rather than the very slow powerboat she had apparently become. One of the last re-rigging tasks was to pull the new forestay through the furler using the old forestay wire and some very thin splicing tape. We set to this task in the twilight hours the evening before the crane was scheduled to re-step the mast. We gently eased the splice through knowing that failure would mean a serious debacle, and a significant delay. With no warning, 80% of the way through, the splice
e let go and we realized the rig would not go up in the morning. At that moment, it was a huge defeat. The only scant advice available online was to NEVER let this happen. Not a lot of sleep was had (again) as I stressed about our possible options. In the morning we attacked the problem with a fresh set of eyes, and the help of our friend Steve, an experienced sailor and cruiser. We drilled out the rivets in the forestay where the splice had broken, and after many, many attempts, managed to fish a metal tape to that point, splice the fish tape into the wire and pull it through the rest of the way. A few rivets later and we were back in business, feeling like we could overcome any obstacle! The next day we stepped the mast with help from many friends both old and new. It was a real high point! Little did we know this up and down experience was just a bit of foreplay to ready us for cruising.